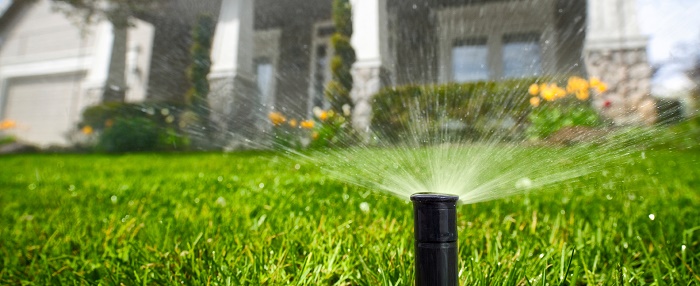
If you have been wondering how to install a sprinkler system on your own, keep in mind that it is always best to hire a qualified professional to avoid severe damage and larger issues later on.
If your system is not properly installed, opened or closed, damages to your irrigation and your landscaping can occur.
In this blog, our experts will answer all your questions about sprinkler system installation, spring opening, winter closing and much more.
Should You Install A Sprinkler System Yourself?
There is a reason why there are sprinkler system installation professionals: It’s hard work and it is very costly and time-consuming should you make any mistakes.
If you are considering installing a sprinkler system yourself, here are a few things to keep in mind:
- The size of your estate
- Obstacles in the area (landscaping design elements, trees, rocks, pool, driveway, walkways, deck, etc.)
- You will need a uniform, full coverage sprinkler system in order to avoid brown spots in your lawn and gardens
- Different types of flowers and plants require varying amounts of watering, so it is best to get to know your plants and landscaping prior to installing a sprinkler system
- Set up the correct watering dates and times for each “zone”
- Purchase the correct materials in the quantities needed
- Any damage or interruption to your landscaping design will need to be fixed
Tools You Will Need To Install An Irrigation System Yourself
Depending on the type of irrigation system you will be installing, you may require different or additional tools or supplies. Here are the basics:
- Levels
- Screwdrivers
- Pipe Cutters
- Pliers
- Layout String
- Marking Flags
- Utility Knife
- Spade or Shovel
- Wooden Stakes
- PVC Saw
- PVC Primer
- PVC Glue
- Power Drill
- Tape Measure
How to Close Your Sprinkler System For Winter
Prepping your sprinkler system for winter needs to be done properly to avoid costly repairs and replacements.
Here is what the winterization process looks like:
Turn off the water
Once the temperature drops, it will be time to winterize your system. However, be careful not to shut your water off too soon, otherwise your landscaping will suffer. Once it is time, the first step is to shut off the water at the main valve.
Shut down controller or timer
After you turn off the water, shut down the controller or set it to “rain mode.” It is important to know which type of controller you have so you can avoid reprogramming or wasting electricity.
Turn on valves
Prevent pressure from building in your pipes by turning on all your valves.
Drain water
Drain the water out of any irrigation components that may freeze throughout winter. Don’t forget to check any rotors, spray heads, backflow, valves and risers.
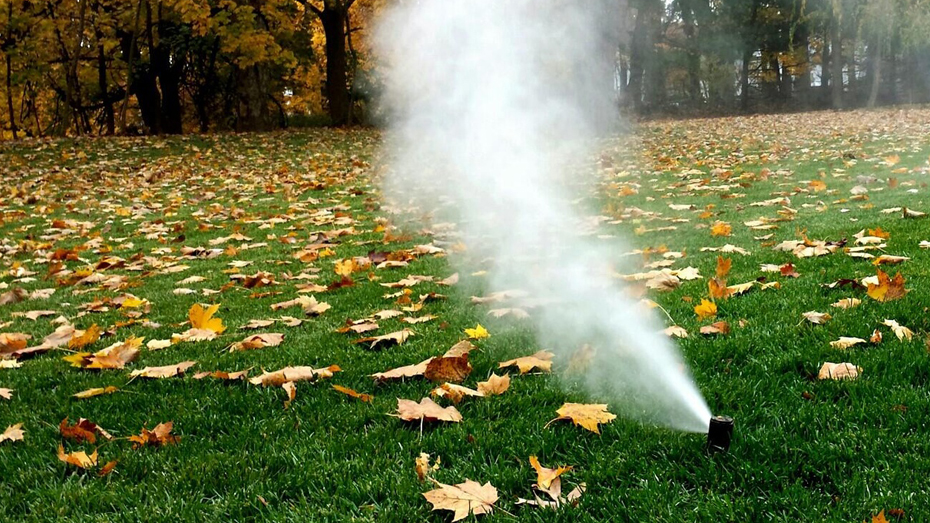
Why is closing your sprinkler system important?
Closing your sprinkler system consists of expelling all the water from the irrigation system and equipment.
This is important because water freezing in your sprinkler system will cause damage to…
- Pipes
- Fittings
- Valves
- Sprinklers
- Pumps
- Other system components
Be careful! If there is any water left in your sprinkler system, it will freeze, expand and severely damage your system, pipes and landscaping.
Due to potential dangers involved with winterization, it is always best to consult a professional.
If you need assistance with closing your sprinkler system for the winter season, call us!
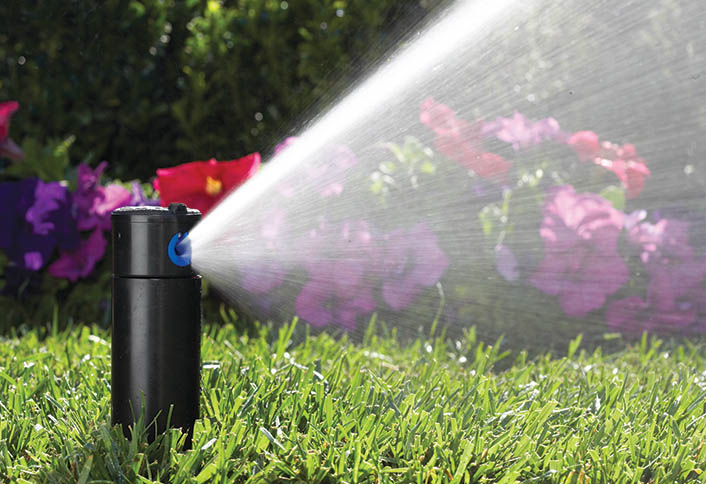
How to Open Your Sprinkler System For Spring
When spring rolls around, your sprinkler system needs to be taken through a series of steps to make sure it is ready to operate through the upcoming seasons.
Here are some basic steps you will need to take to open your system after winter:
- Don’t open too early – Starting your system too early can wreak havoc on your sprinkler system and landscaping. Be sure you pay attention to your local weather forecast to ensure the freezing temperatures are over for the season.
- Inspect your backflow preventer – Check your backflow preventer for any damage that may have occurred over the winter season (cracks, splits, leaks, etc.)
- Check your sprinkler heads – Look for any damage in and around your sprinkler heads. Remove debris (dirt, gravel, leaves, trash) that may have collected around sprinkler heads.
- Check your valves – Locate your valves and inspect them for damage or leaks.
- Inspect the controller – Check your controller for damage and ensure it is still functioning.
- Prep backflow preventer for mainline to be turned on – Open the handles on the backflow preventer to allow for water flow.
- Turn on main water – Turn the water on slowly and check water pressure from the backflow preventer to the valves.
- Check for leaks or issues – With water in the pipes, inspect your system for any leaks or damage that was not visible when the water was off.
- Adjust watering schedule – Set up your system for the spring/summer season by resetting the controller.
Do all these steps seem overwhelming? Contact us to get in touch with one of our experts. We would be happy to help you with your sprinkler system!
Let Us Handle All Your Sprinkler System Needs!
Installing and maintaining a sprinkler system is a daunting task, and if not done properly, can be dangerous and expensive as well.
Have Toronto’s most trusted landscaping company handle your sprinkler system installations, openings and closings.
Our award-winning team will be happy to speak with you about your needs, so give us a call!